Lighting
Photographing Cars 2
Use Reflections to Cast Shadows on the Body of the Car
Once you’ve found your preferred angle, the next step is to consider the way the car is lit. It’s worth paying very close attention to this.
Skillful use of light and shadow is an essential part of automobile photography.
When shooting a car outside, it will already be lit one way or another (be it naturally or artificially), from in front or from behind. Whichever way the light is striking the car, there will always be parts that are lit up and others that remain in shadow.
Slowly rotate a car using the ‘Scapes’ feature of Gran Turismo 7 and you’ll see that the way light strikes its body changes from moment to moment. Examining a car in this way will allow you to grasp how best to light it, which will be crucial if you want to take more expressive photographs. For example, you might want to illuminate the front of the car while causing a gentle shadow to fall on the side of its body. Making use of light and shadow in this way will enable you to increase the depth of expression in the images you create.
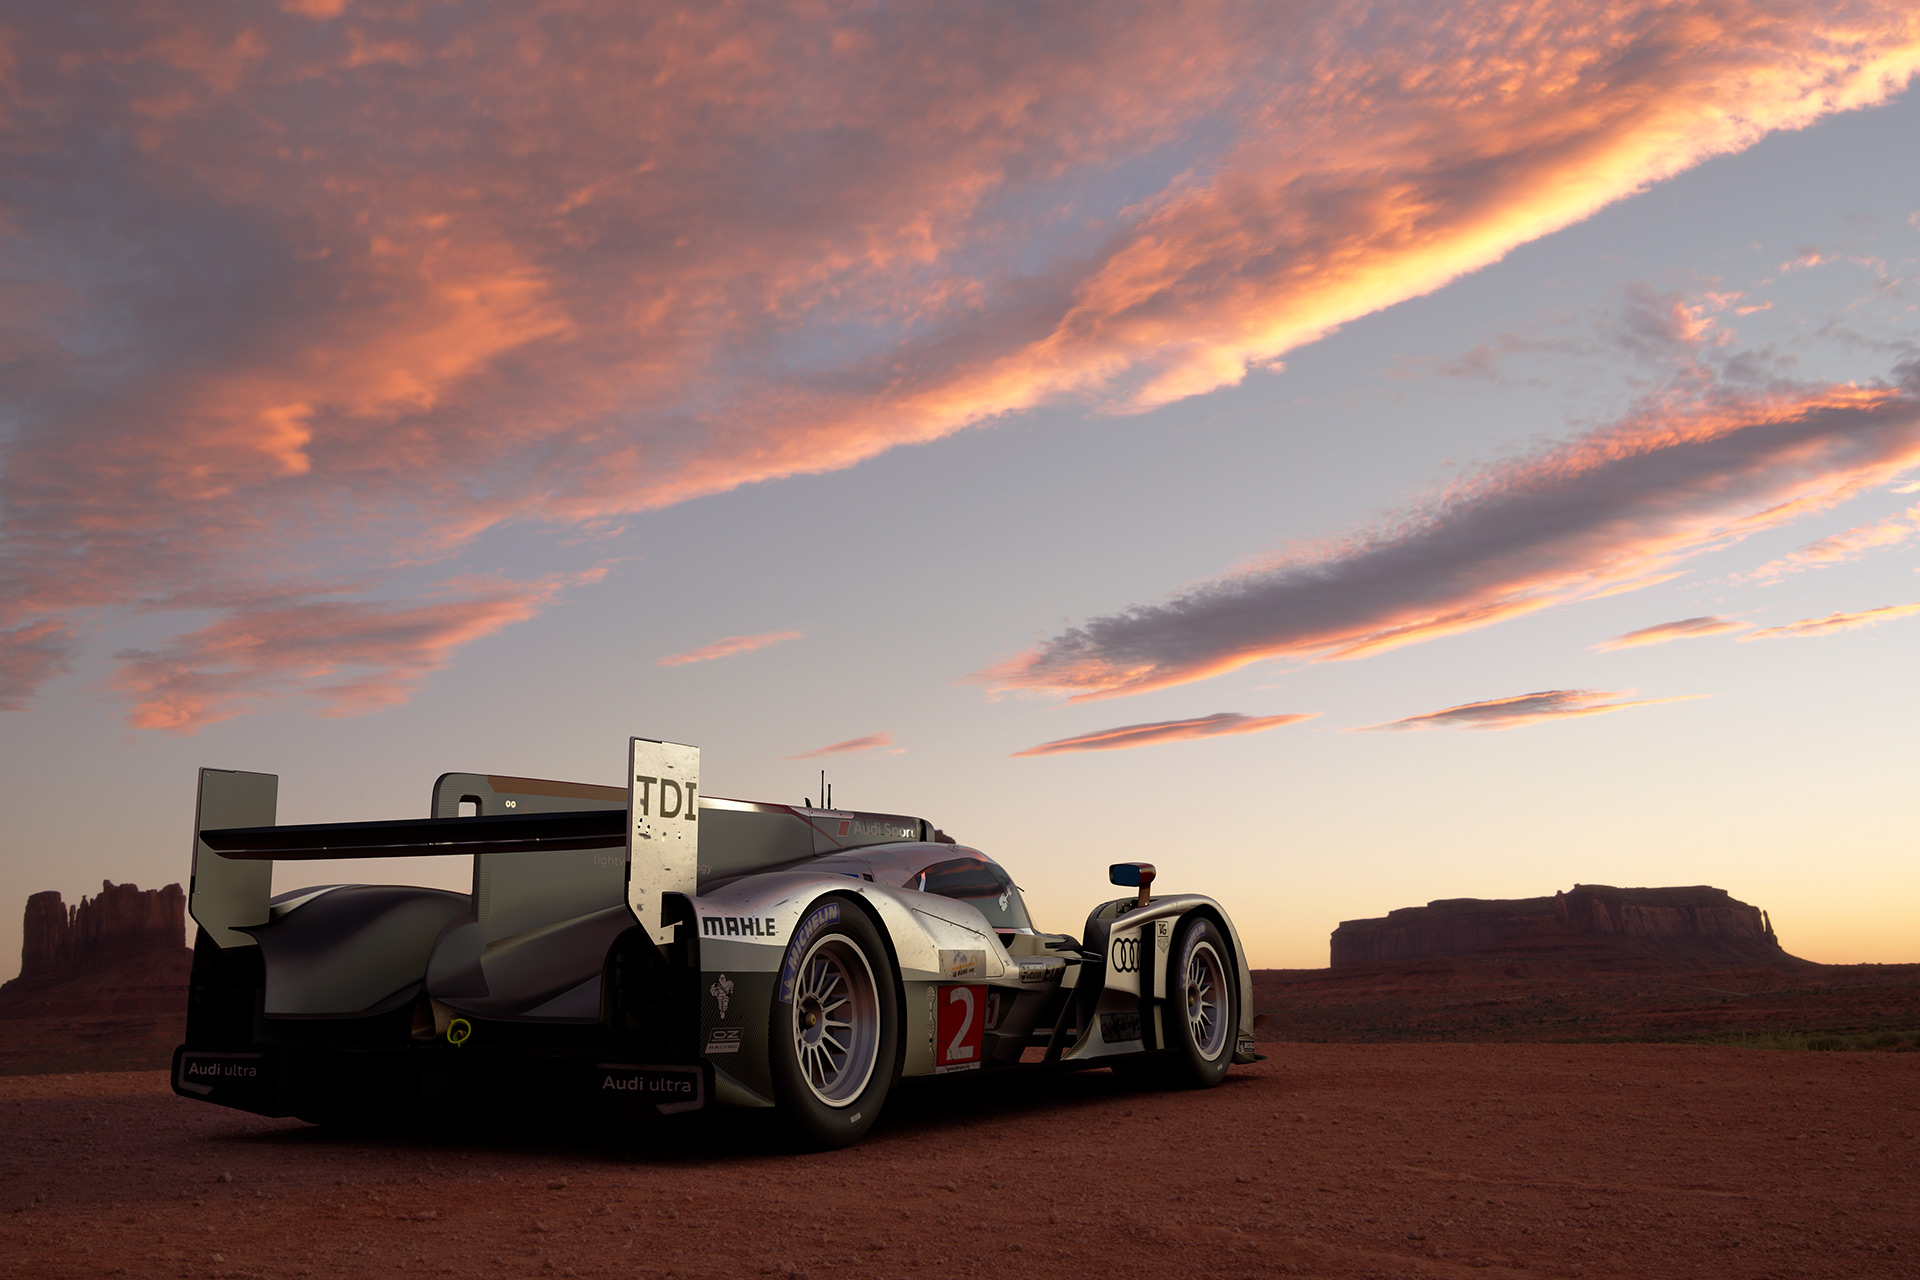
Incidentally, extremely bright spots — such as parts of a car’s body that are in direct sunlight — are known as ‘highlights’. When photographing cars, ensuring that there is at least one highlight can increase the expressiveness of the photograph enormously.
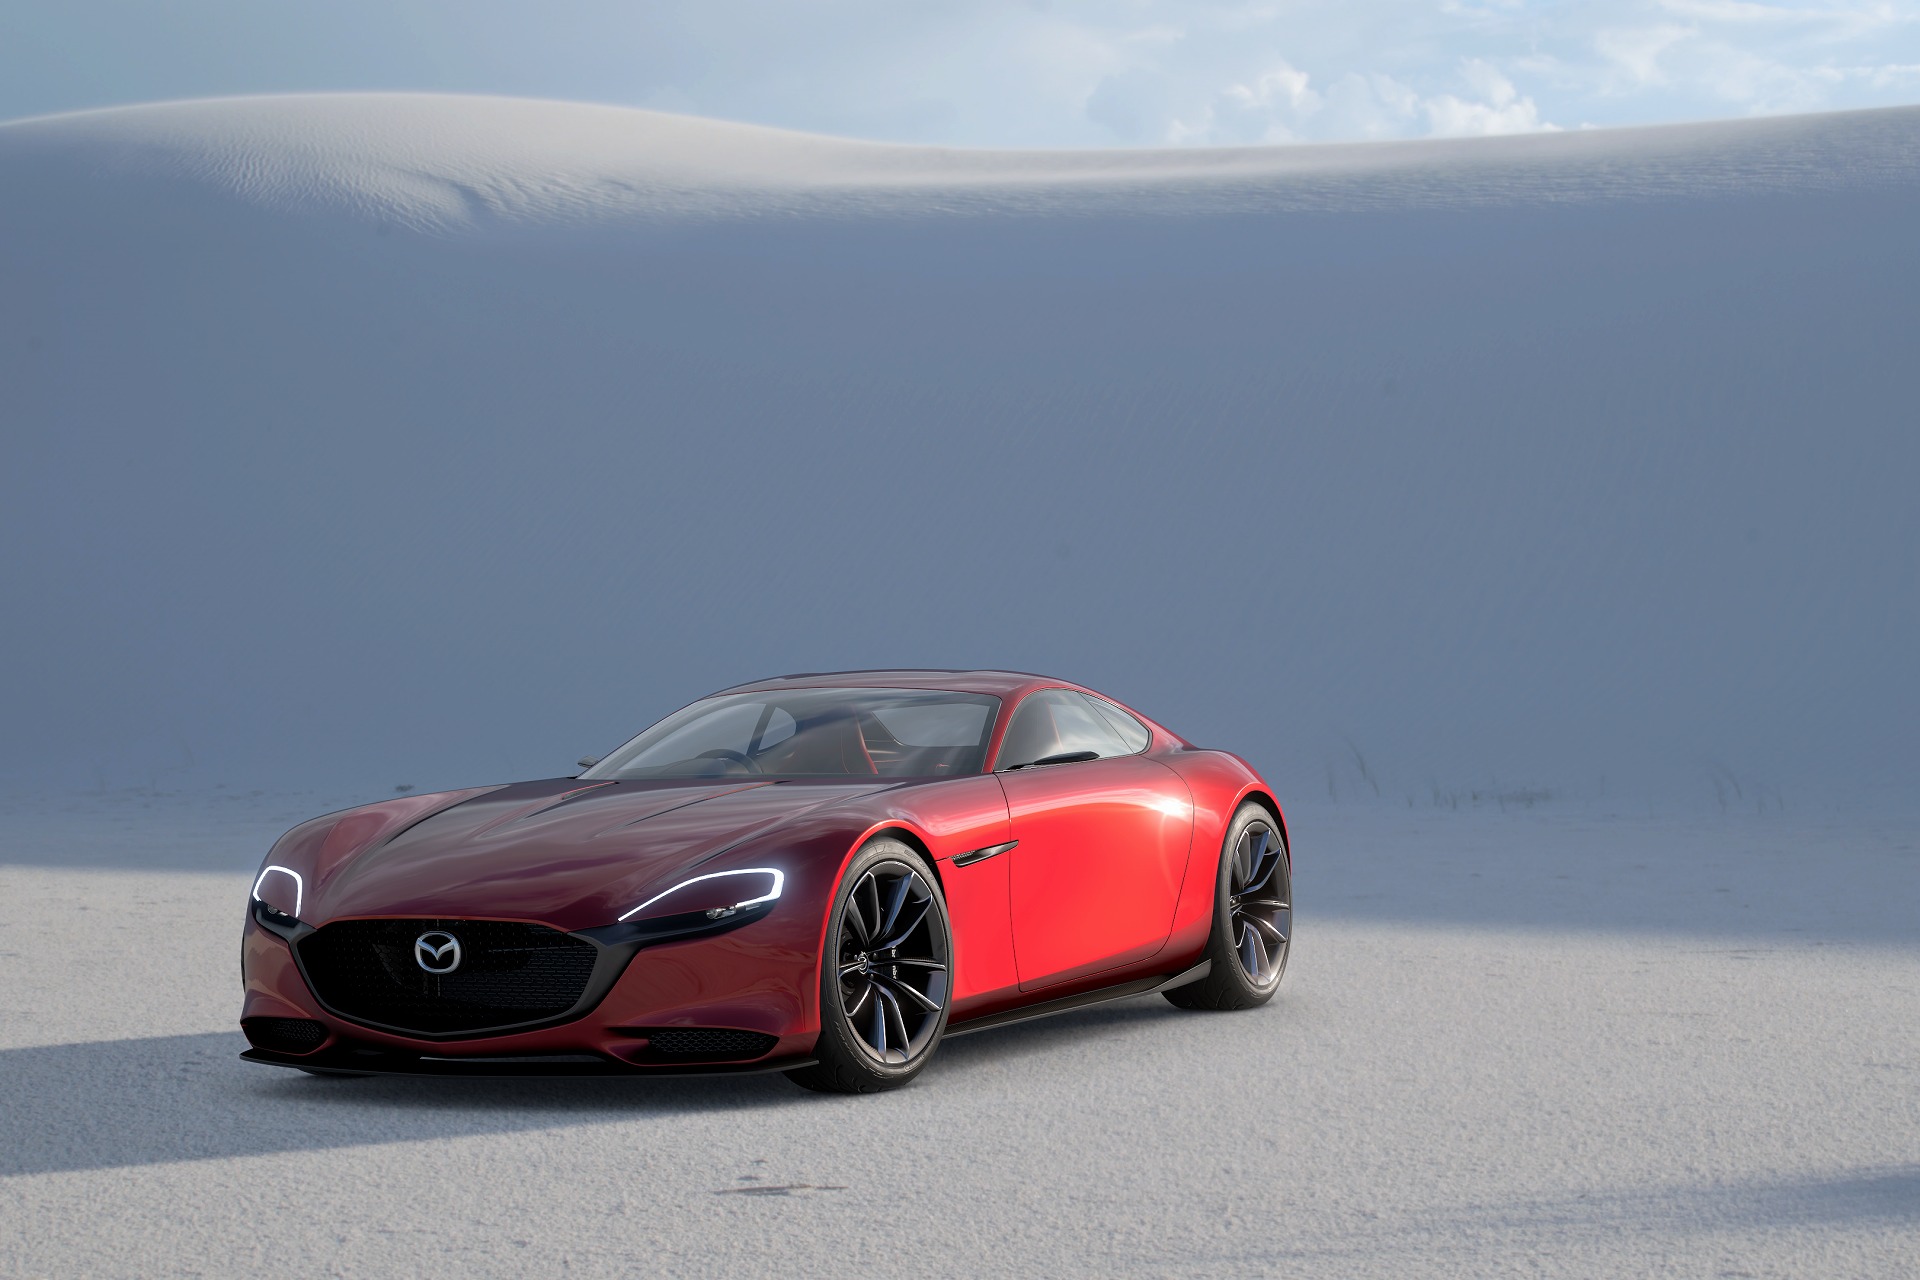
- Here is an example of a car positioned in different ways against the same background. In the left photo, there is a highlight on the side of the car’s body: the brightness means that it loses a lot of its expressiveness.
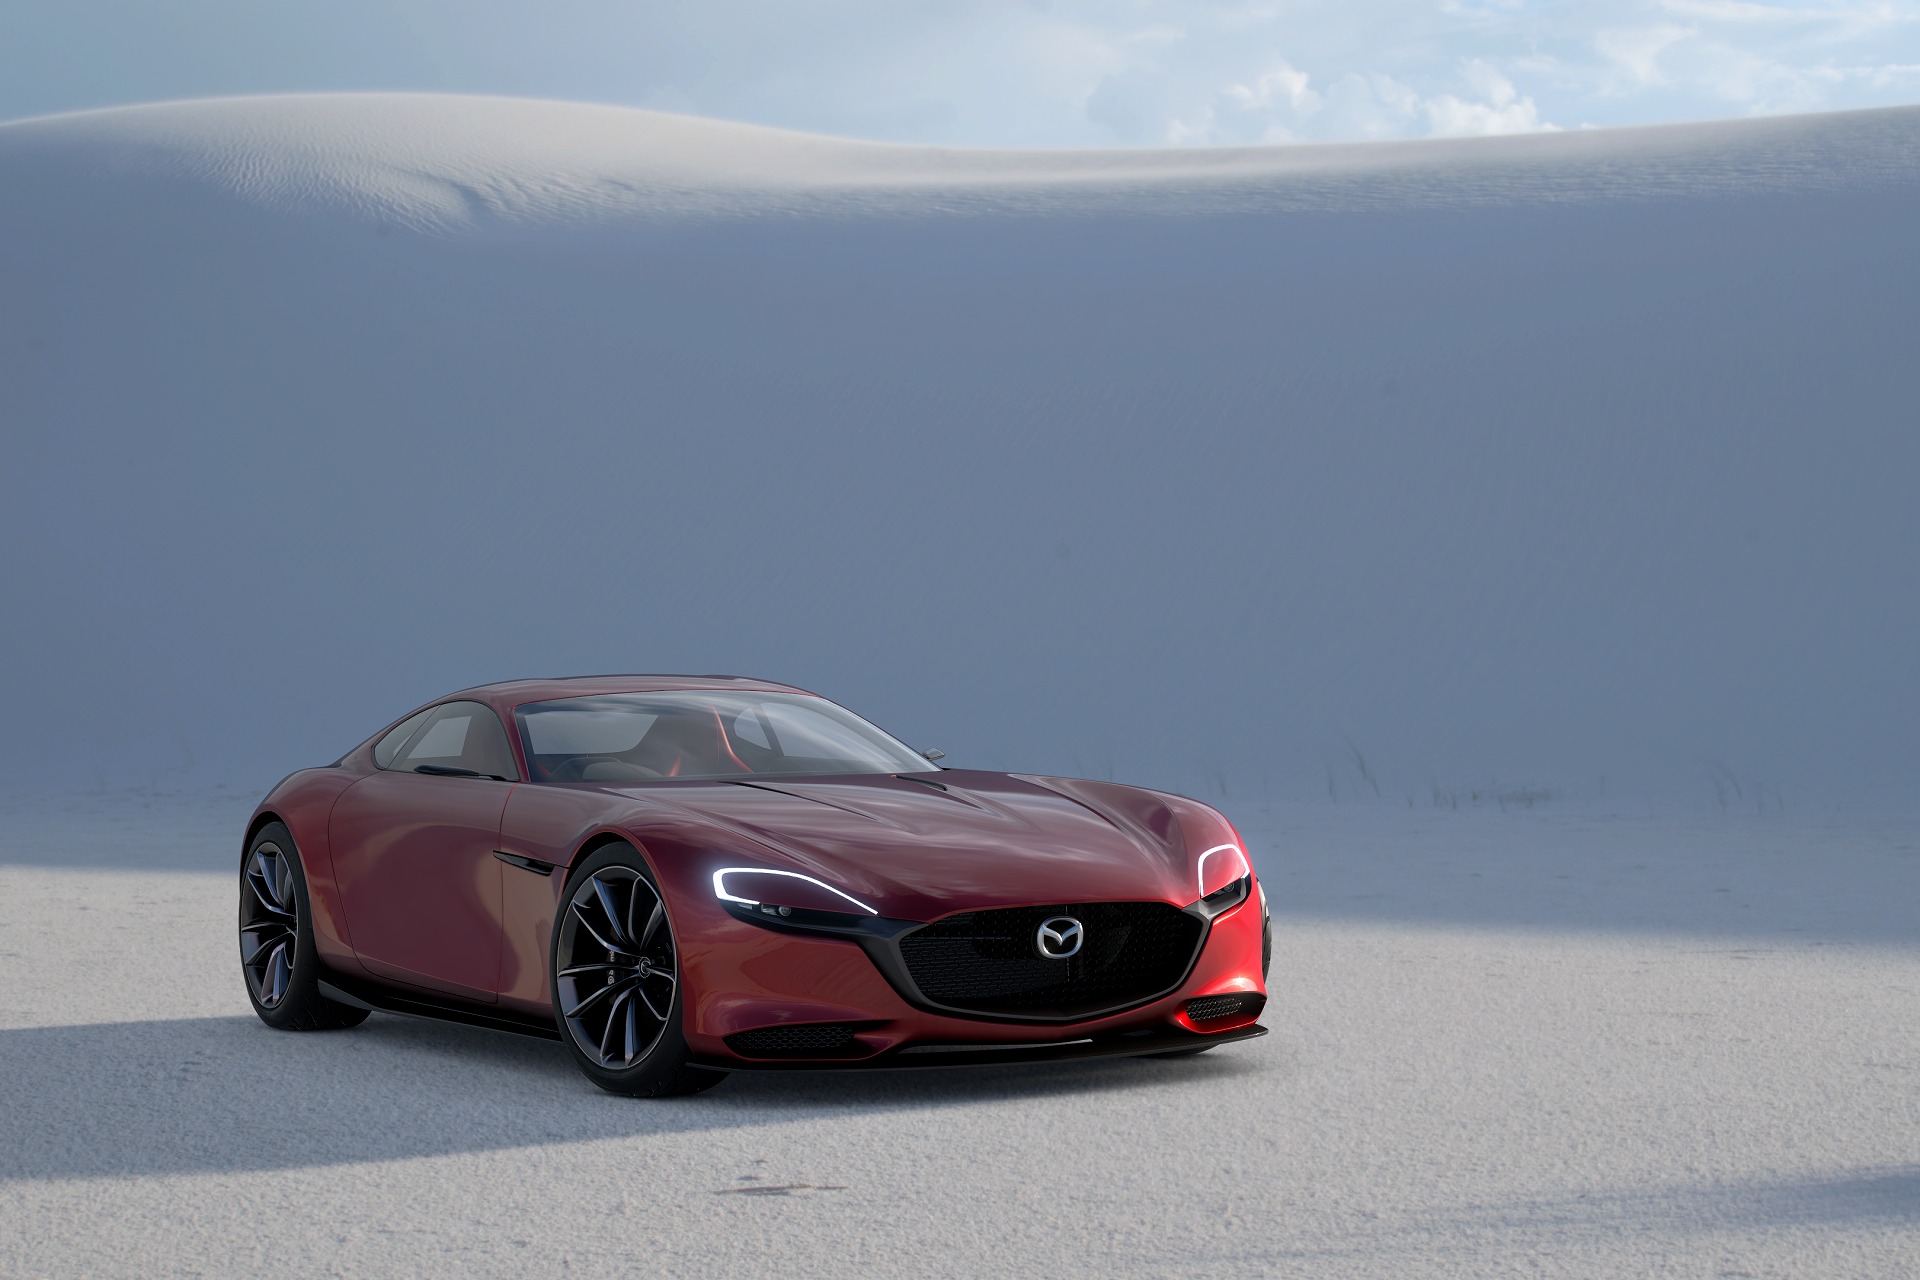
- In the right photo, the highlight is placed at the very front of the car, making details such as the curve of the body easier to discern.
Let’s say you’re taking a photo from a front-on 7:3 angle (that is, the car is positioned diagonally, showing its side and front in a 7:3 ratio; this is a well-balanced view that’s often used for magazine photographs). When shooting from this angle, I like to ensure that there’s a highlight somewhere around the car’s headlights.
A long time ago, my mentor taught me that ‘a car is a mirror’. What he meant was that a car reflects its surroundings in their entirety. Using reflections from these surroundings is an important technique in car photography. The ‘Scapes’ feature provides information about the surroundings of the car you’re photographing, which means you can really make the most of the reflections it provides. Place the car in the middle of the screen and rotate it slowly — you’ll see all sorts of delicate changes in the reflections as it spins round.
The other important element is the car’s body color. Be aware that, with red cars, areas in shadow often look murky. With white cars, it’s difficult to create shadow, especially under blazing summer sun. With black cars, on the other hand, parts of the car’s body that are directly lit can look murky, so it’s better to place the whole car in shadow and use reflections from the background to illuminate it. I find that the body color that works best on the whole (in terms of the ease with which good photos can be taken) is silver, as it performs well under all strengths of light.
