Display Settings Assistant
Getting More Out of the Game
To ensure that you enjoy the best possible Gran Turismo 7 experience, a "Display Settings" screen appears when you launch the game for the first time. Please follow the procedure detailed below. Note: The procedure is different for high dynamic range (HDR) and standard dynamic range (SDR) televisions.
1. Check Your Viewing Angle
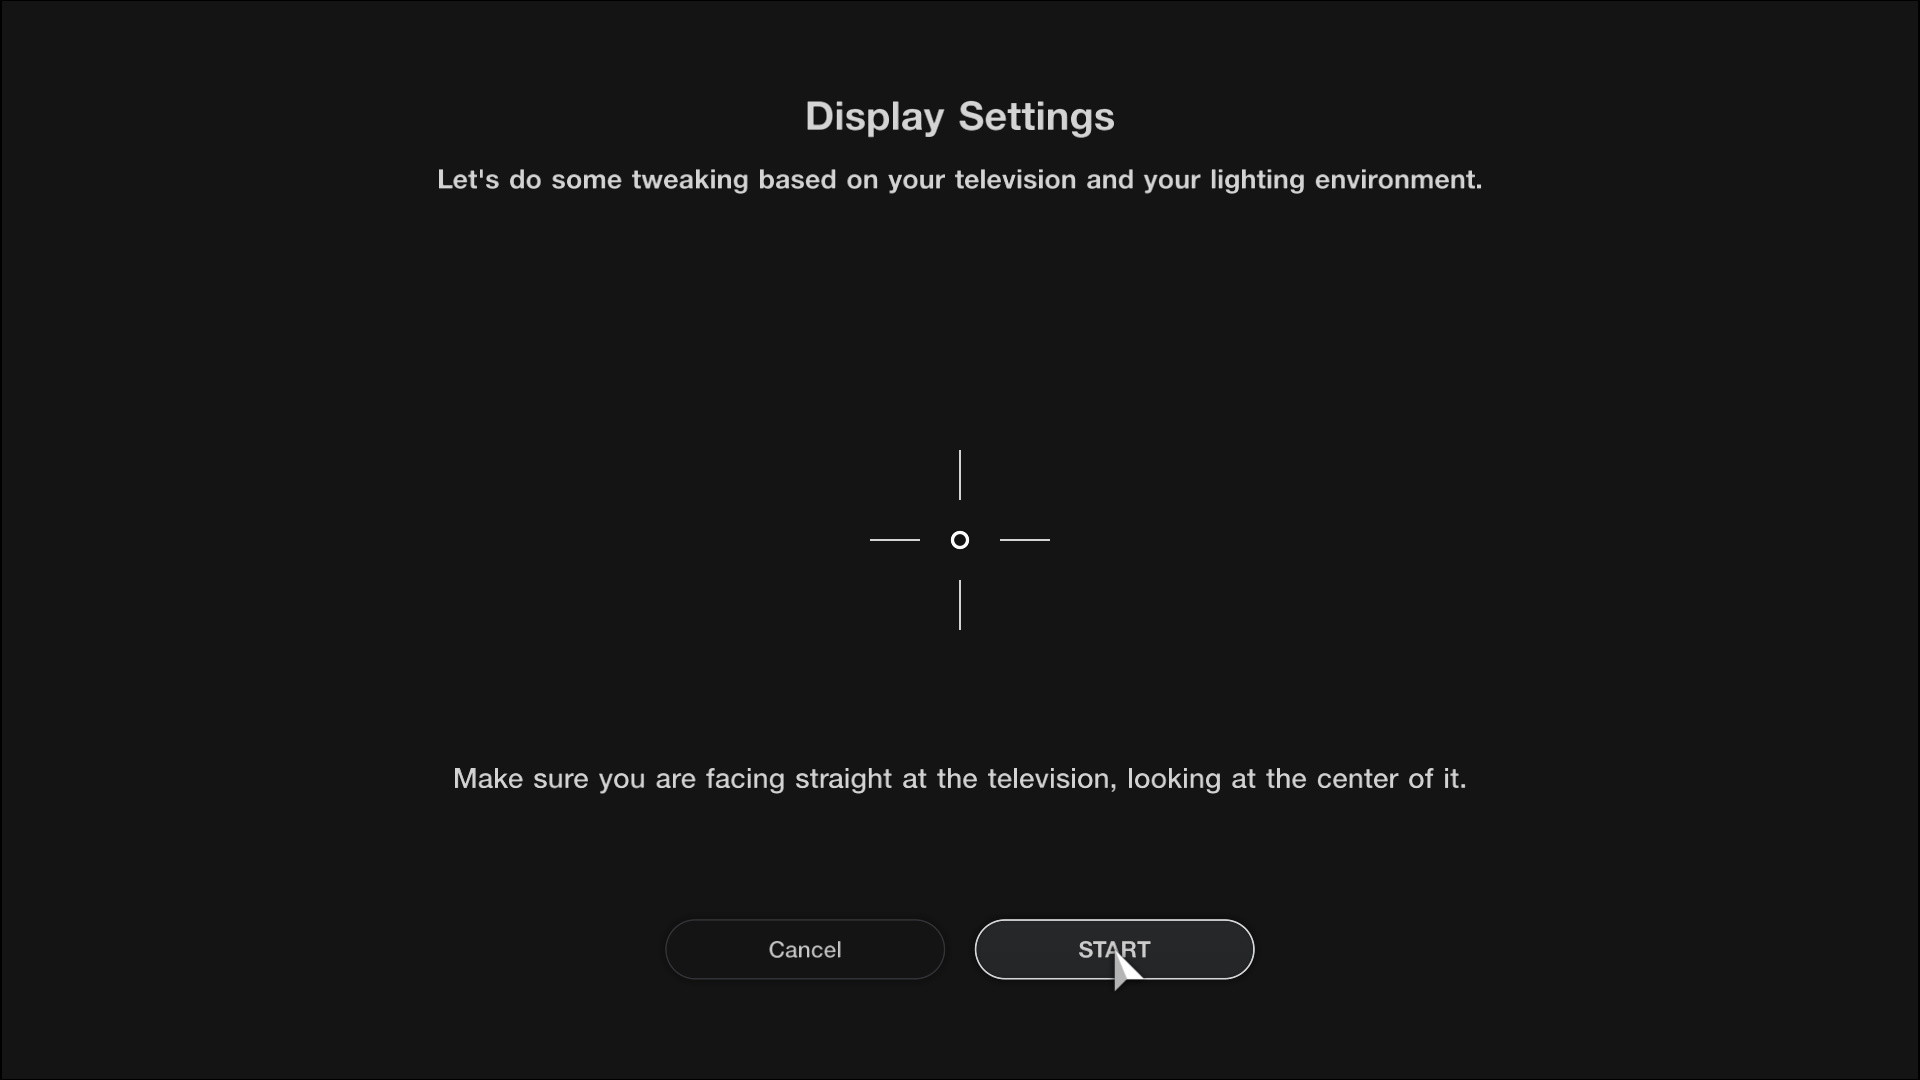
For display settings to be correctly set up, you need to be directly facing the center of the screen. Once you have confirmed that you are in the proper viewing position, select "Start."
2. Select HDR (High Dynamic Range) or SDR (Standard Dynamic Range) Output
Gran Turismo 7 will use HDR or SDR according to the settings of your PlayStation®5 console or PlayStation®4 system.
・ If your PlayStation®5 console is connected to a HDR television and the "HDR" setting is set to "Always On" or "On When Supported," then HDR output will be used.
・ If your PlayStation®4 system is connected to a HDR television and the "HDR" setting is set to "Automatic," then HDR output will be used.
3. Graphics Priority for PlayStation®5 Console
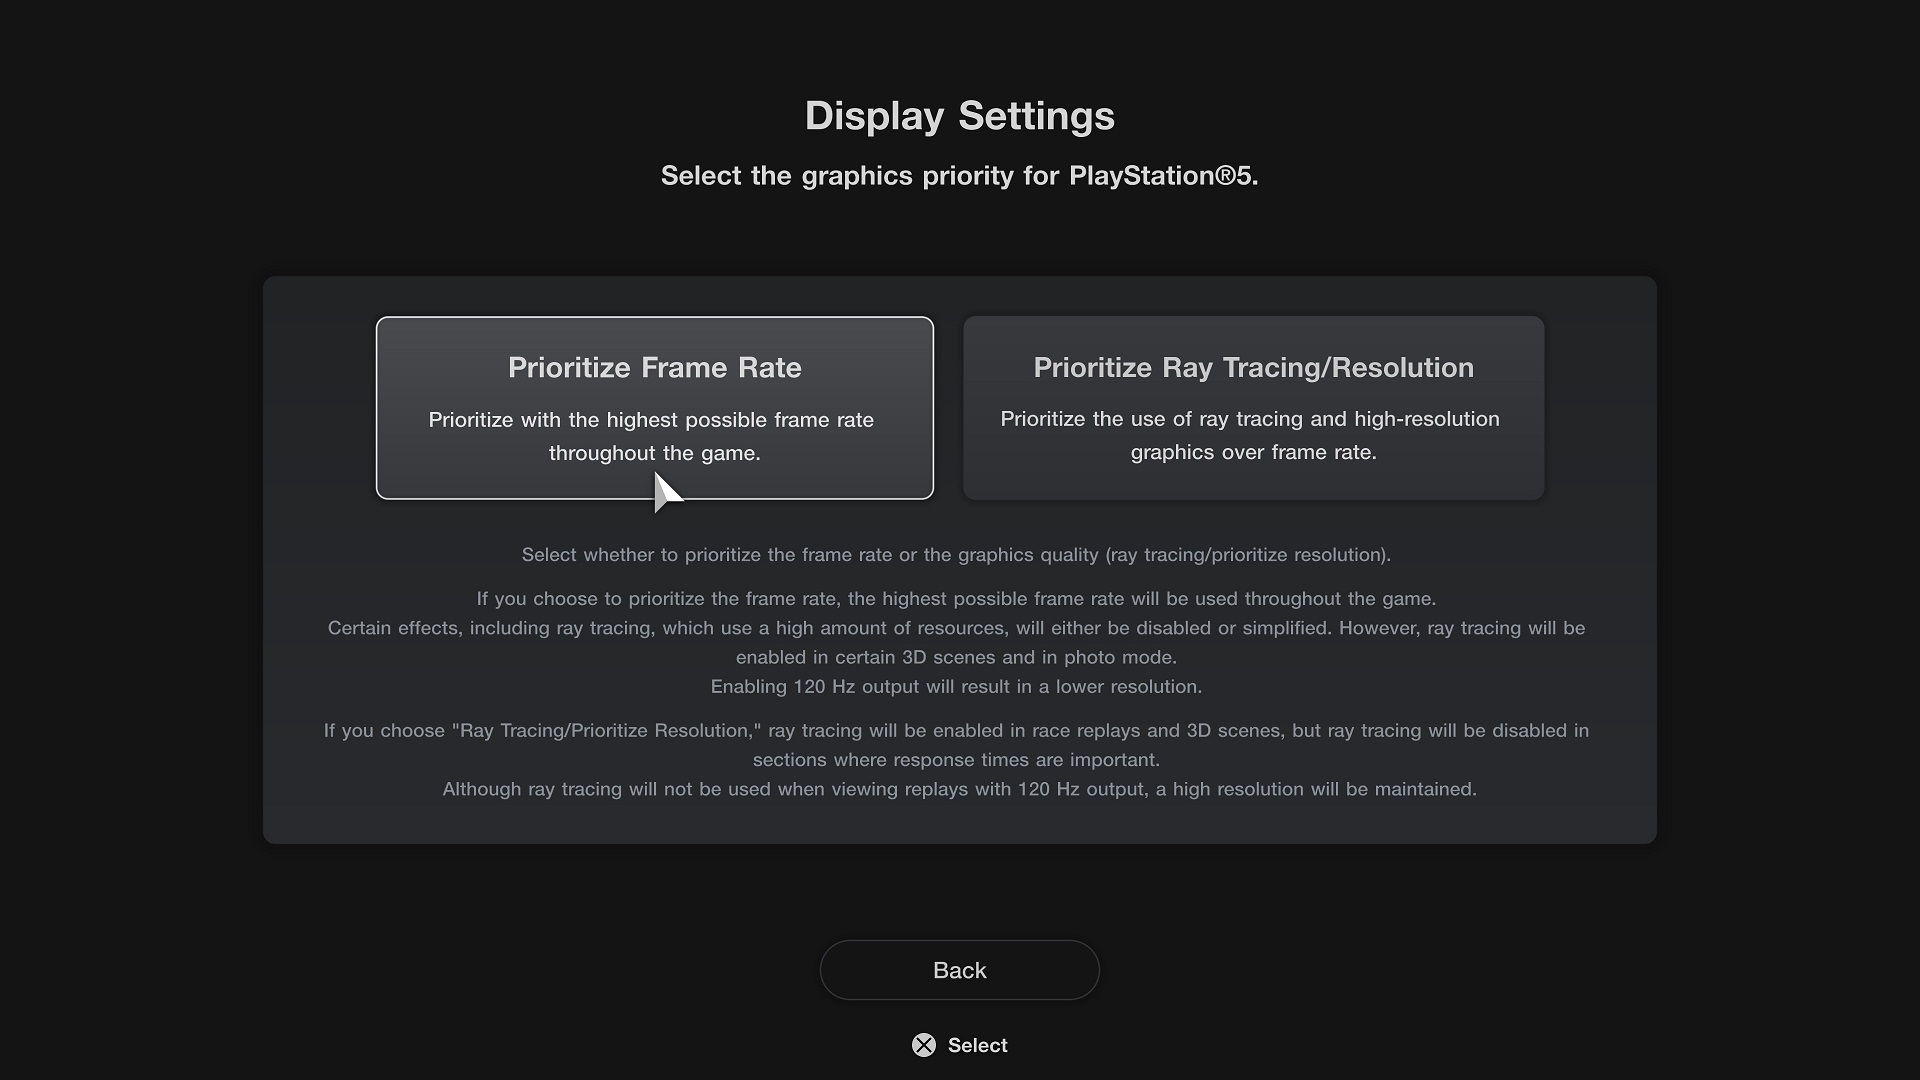
On a PlayStation®5 console, you can choose whether to prioritize the frame rate or ray tracing/resolution.
・ Prioritize Frame Rate: Ensuring the highest possible frame rate will be prioritized throughout the game. Certain other effects including ray tracing, which uses a lot of resources, will be disabled or simplified. Ray tracing will be enabled in certain 3D scenes and in photo mode, however. Enabling 120 Hz output will result in a lower resolution.
・ Prioritize Ray Tracing/Resolution: Ray tracing will be enabled in race replays and 3D scenes. However, ray tracing will be disabled in sections where response times are important. Ray tracing is also enabled during races on the PlayStation®5 Pro. Although ray tracing will not be used for races and replays at 120 Hz output, a high resolution will be maintained.
If You Are Using HDR Output
4. Adjust the Exposure and Saturation
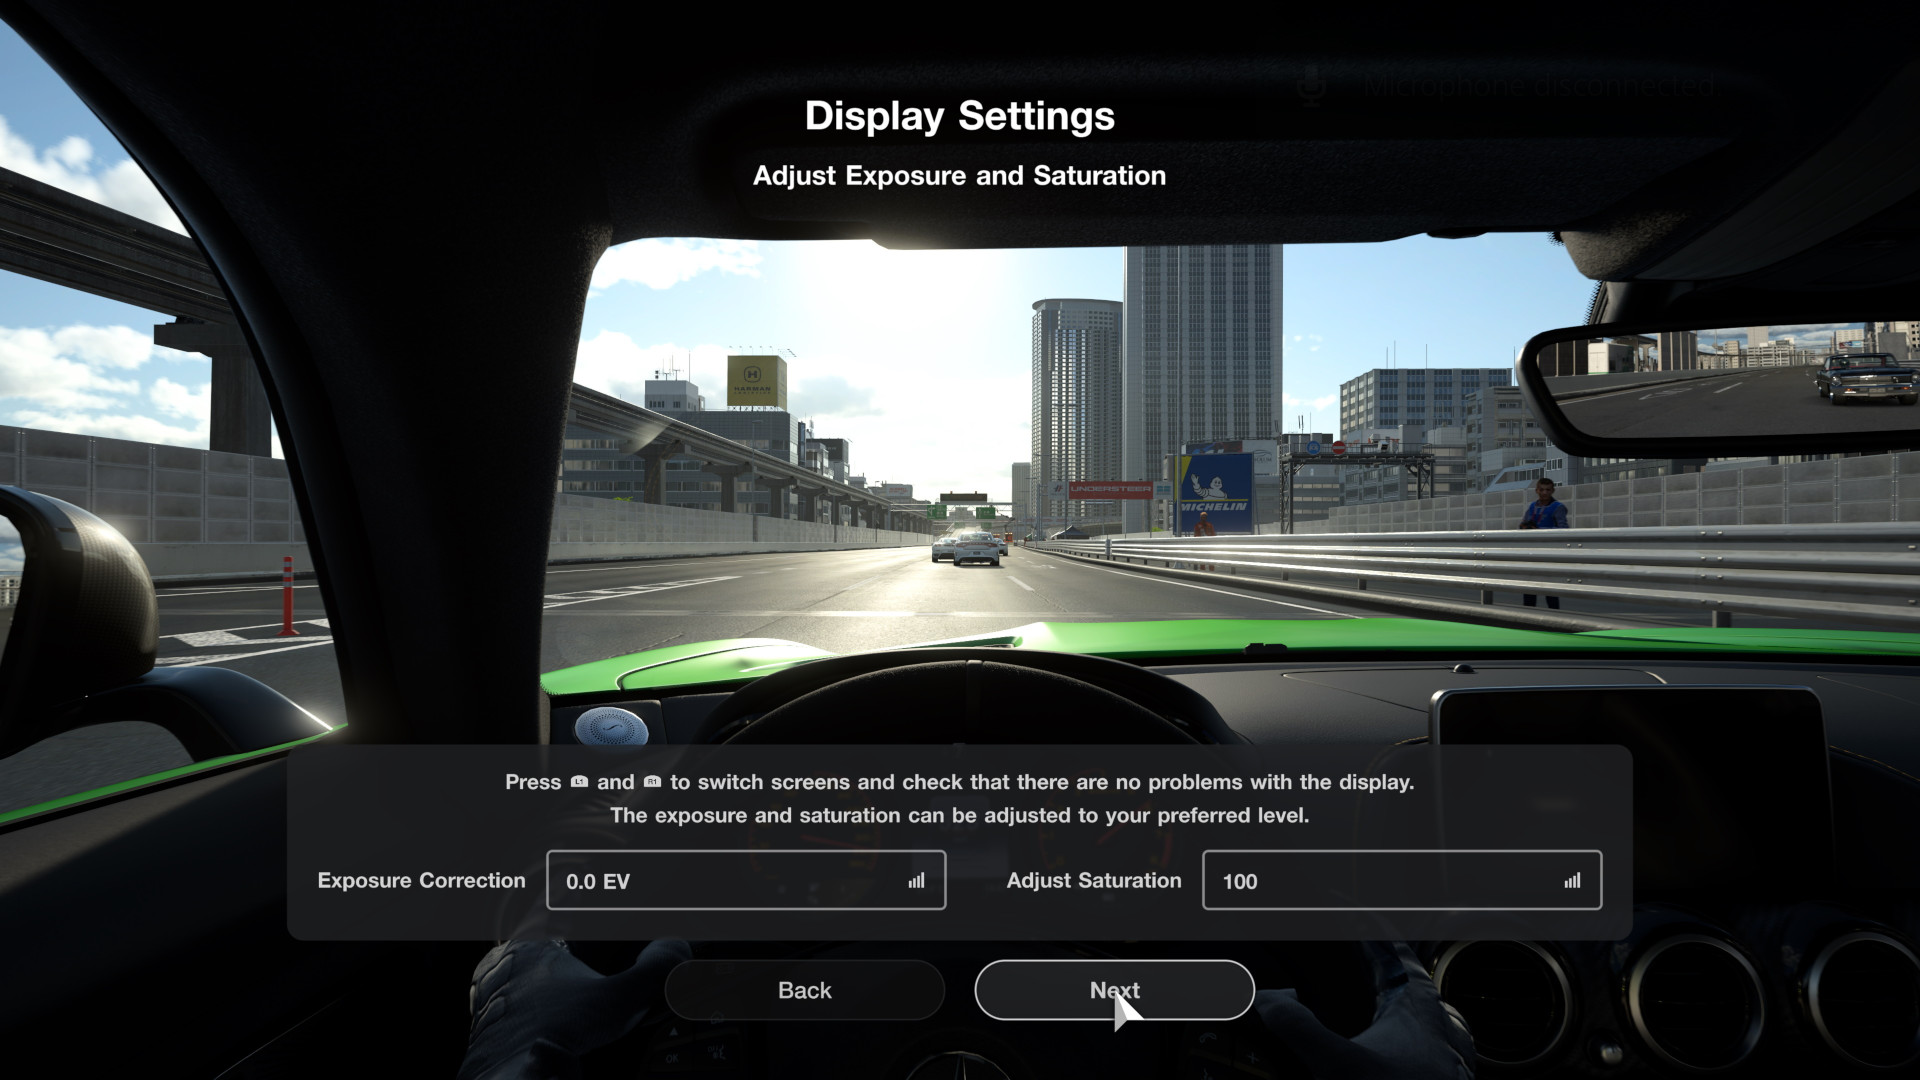
Use the L1 button and R1 button on the controller to switch the image displayed on screen, and check that all images are displayed correctly. The exposure and saturation can be adjusted according to your preference using the sliders. When you are satisfied with your adjustments, select "Next."
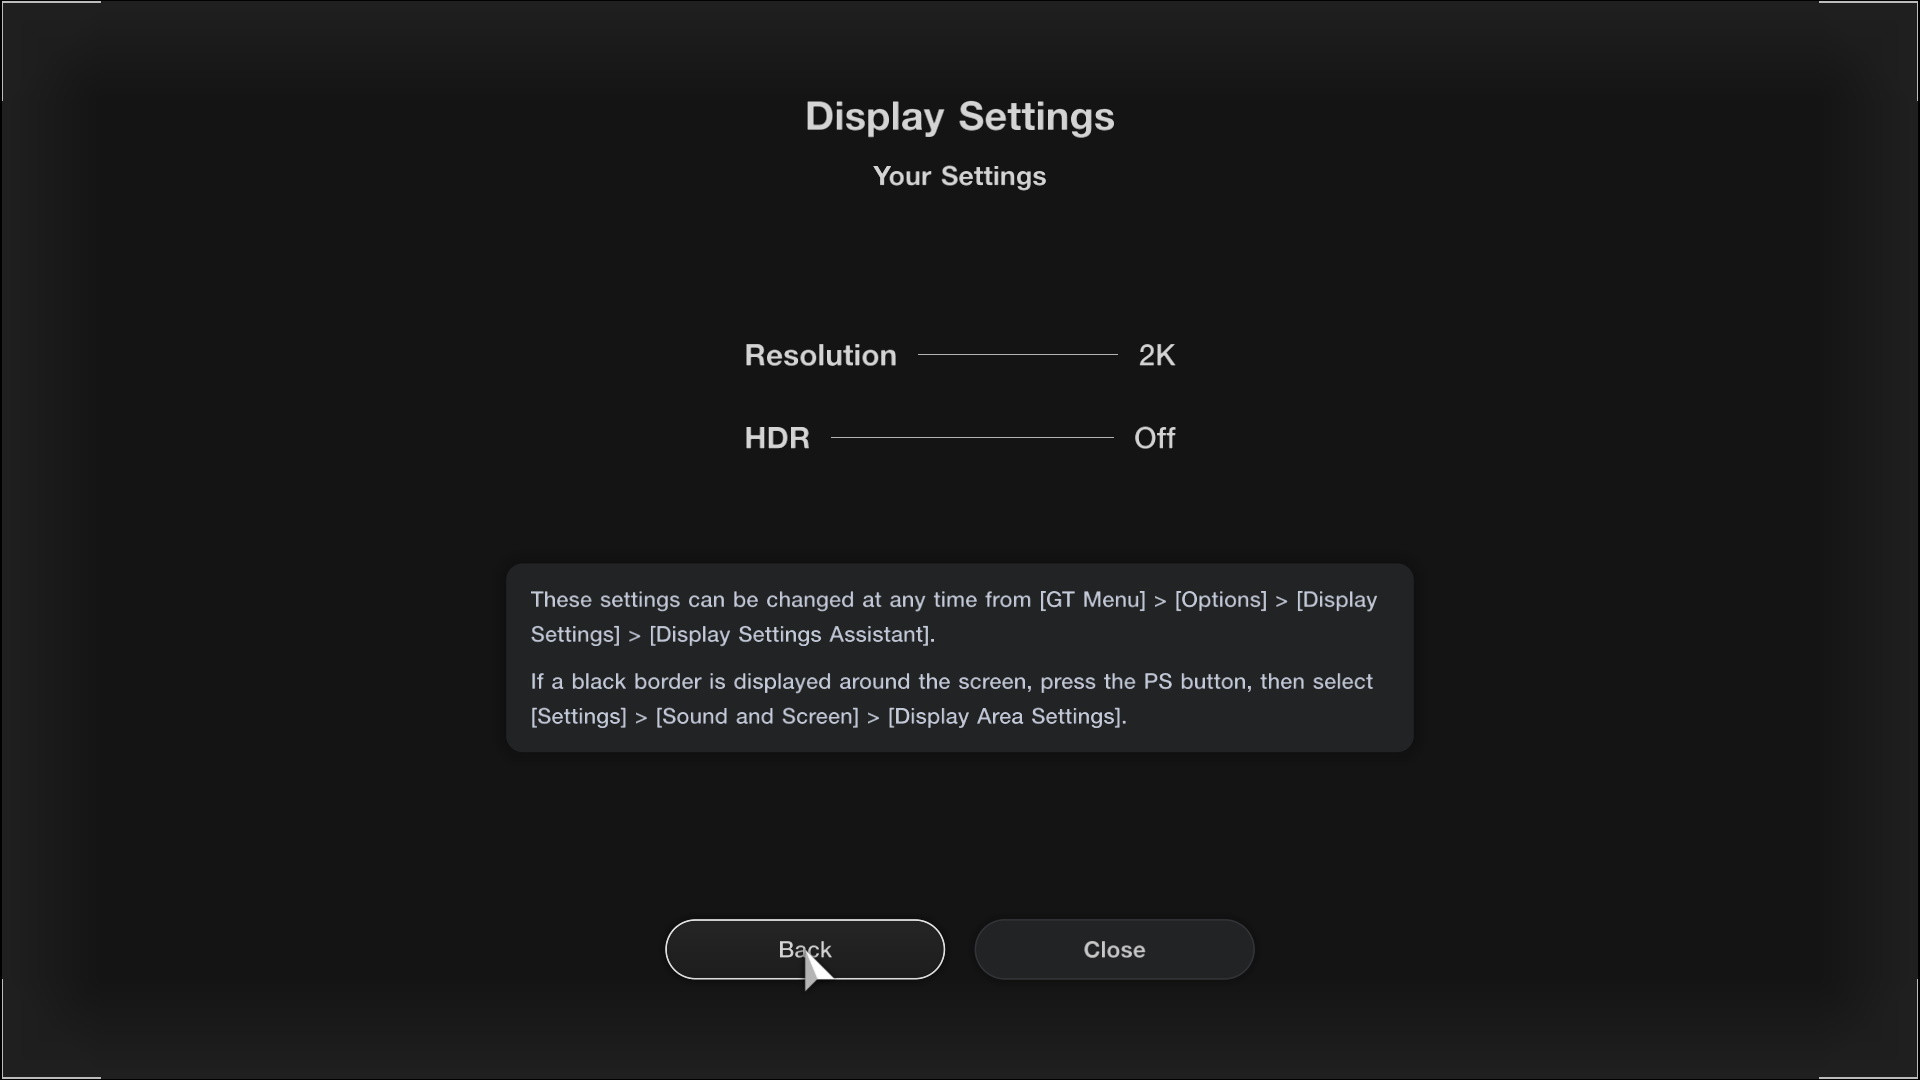
5. View Settings
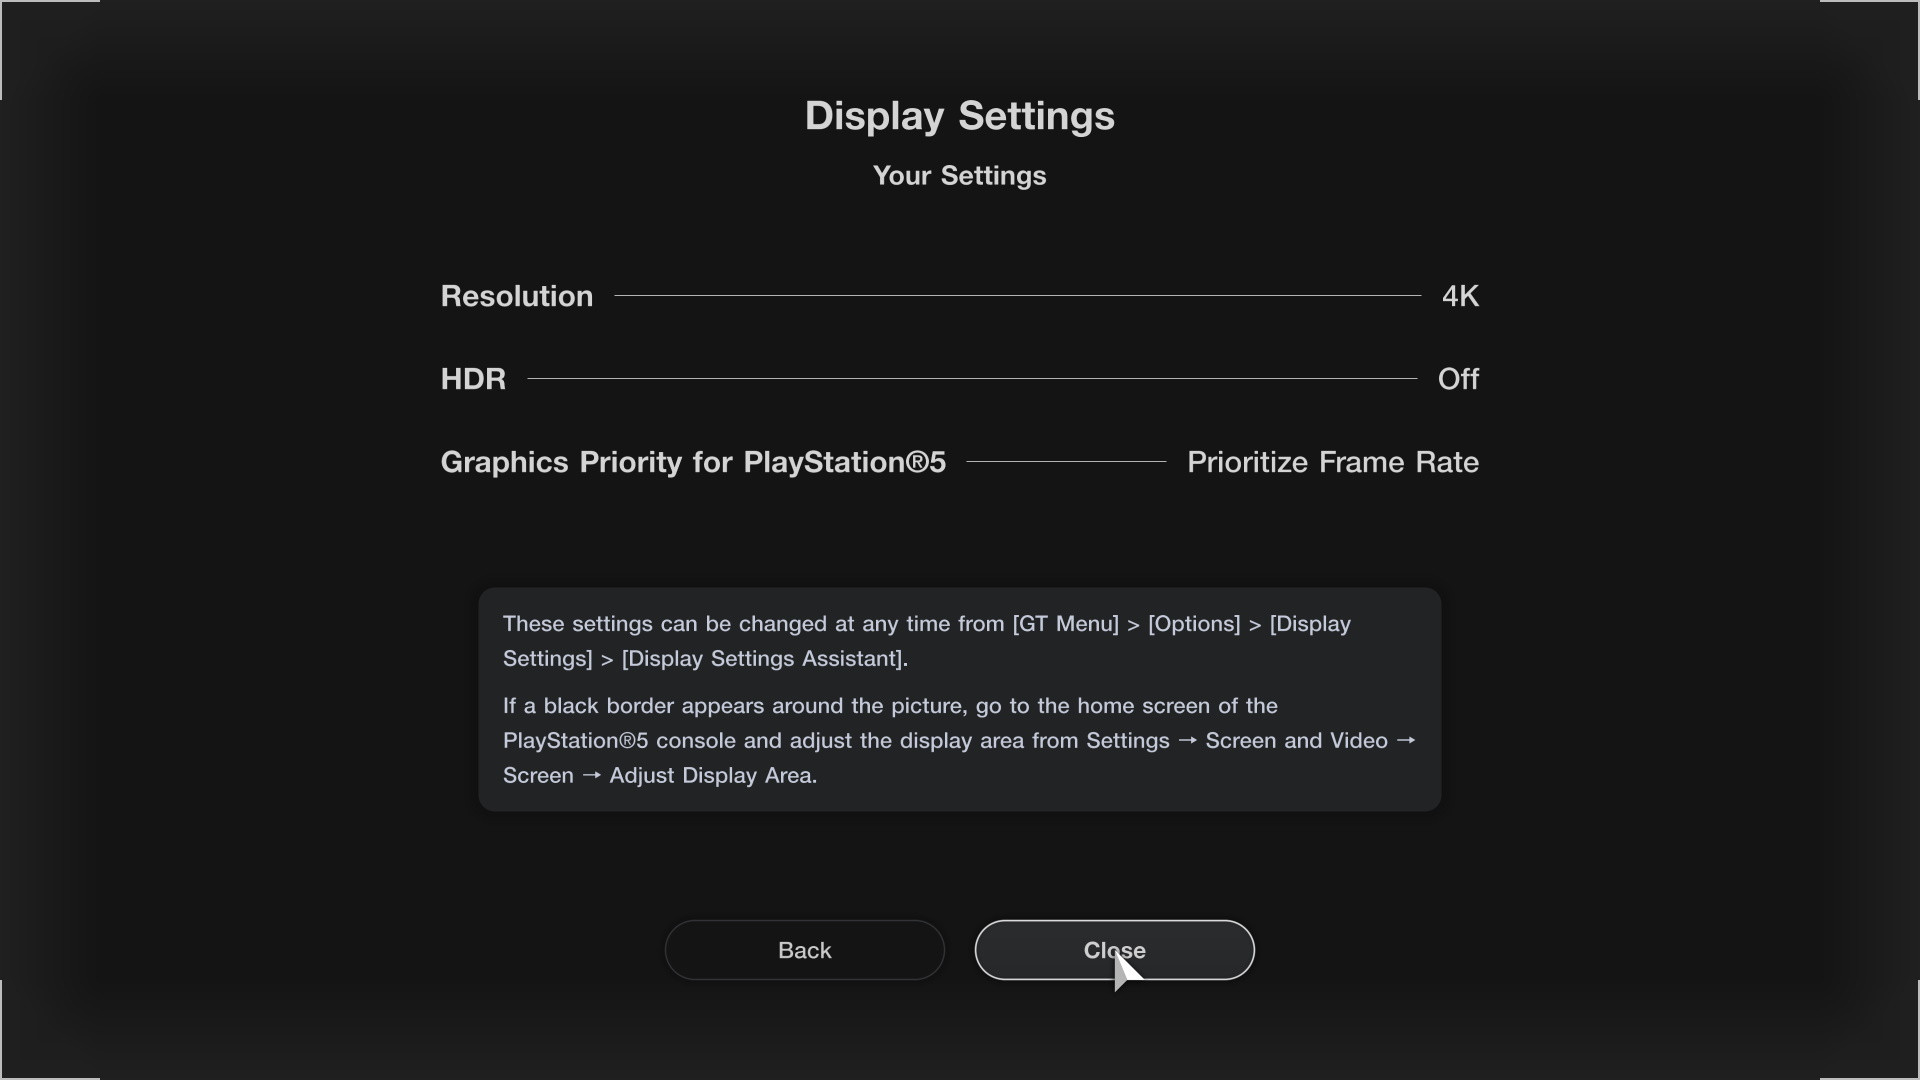
Check that all the settings are correct, and select "Close" when you are ready.
If You Are Using SDR Output
6. Bright Section Correction
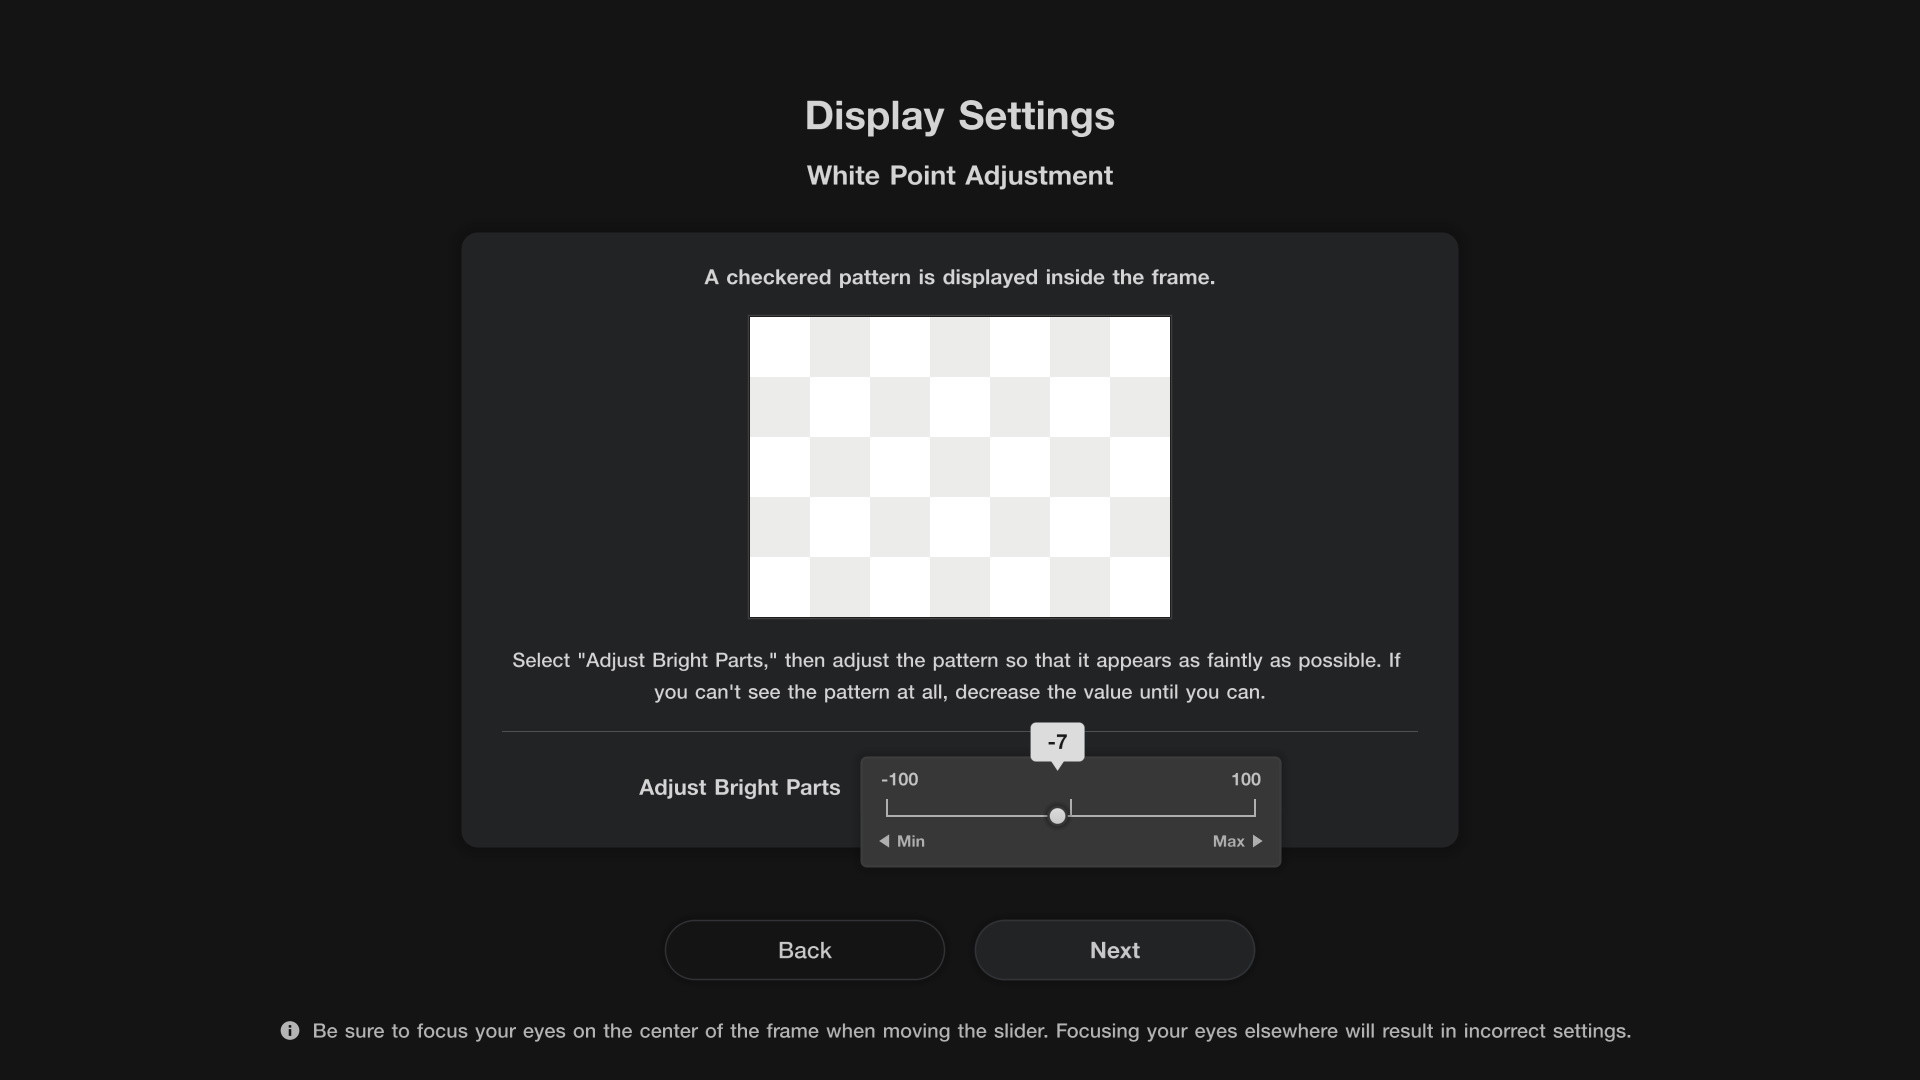
If you cannot see the checkered pattern on the screen, move the slider until it appears. Adjust the slider until the checkered pattern can barely be seen. When you are satisfied with your adjustments, select "Next."
7. Dark Section Correction
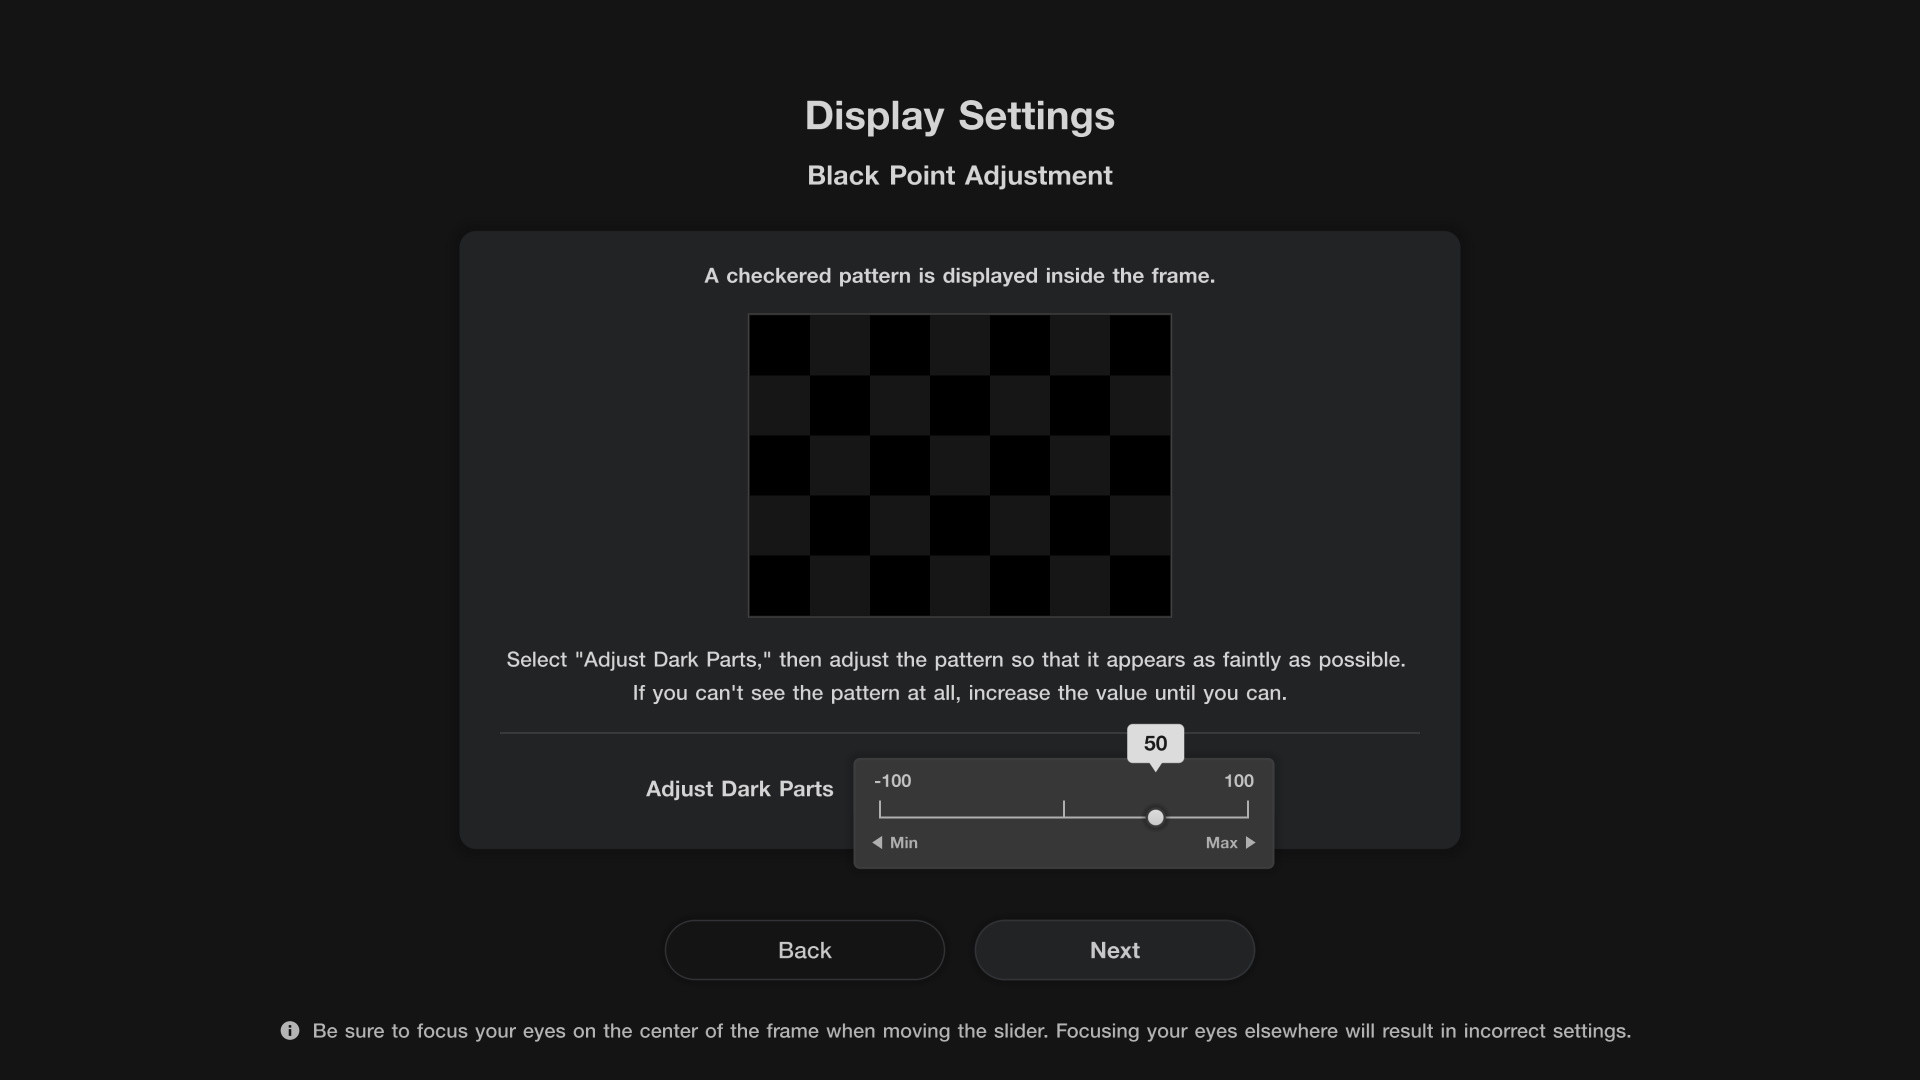
If you cannot see the checkered pattern on the screen, move the slider until it appears. Adjust the slider until the checkered pattern can barely be seen. When you are satisfied with your adjustments, select "Next."
8. Adjust the Exposure and Saturation
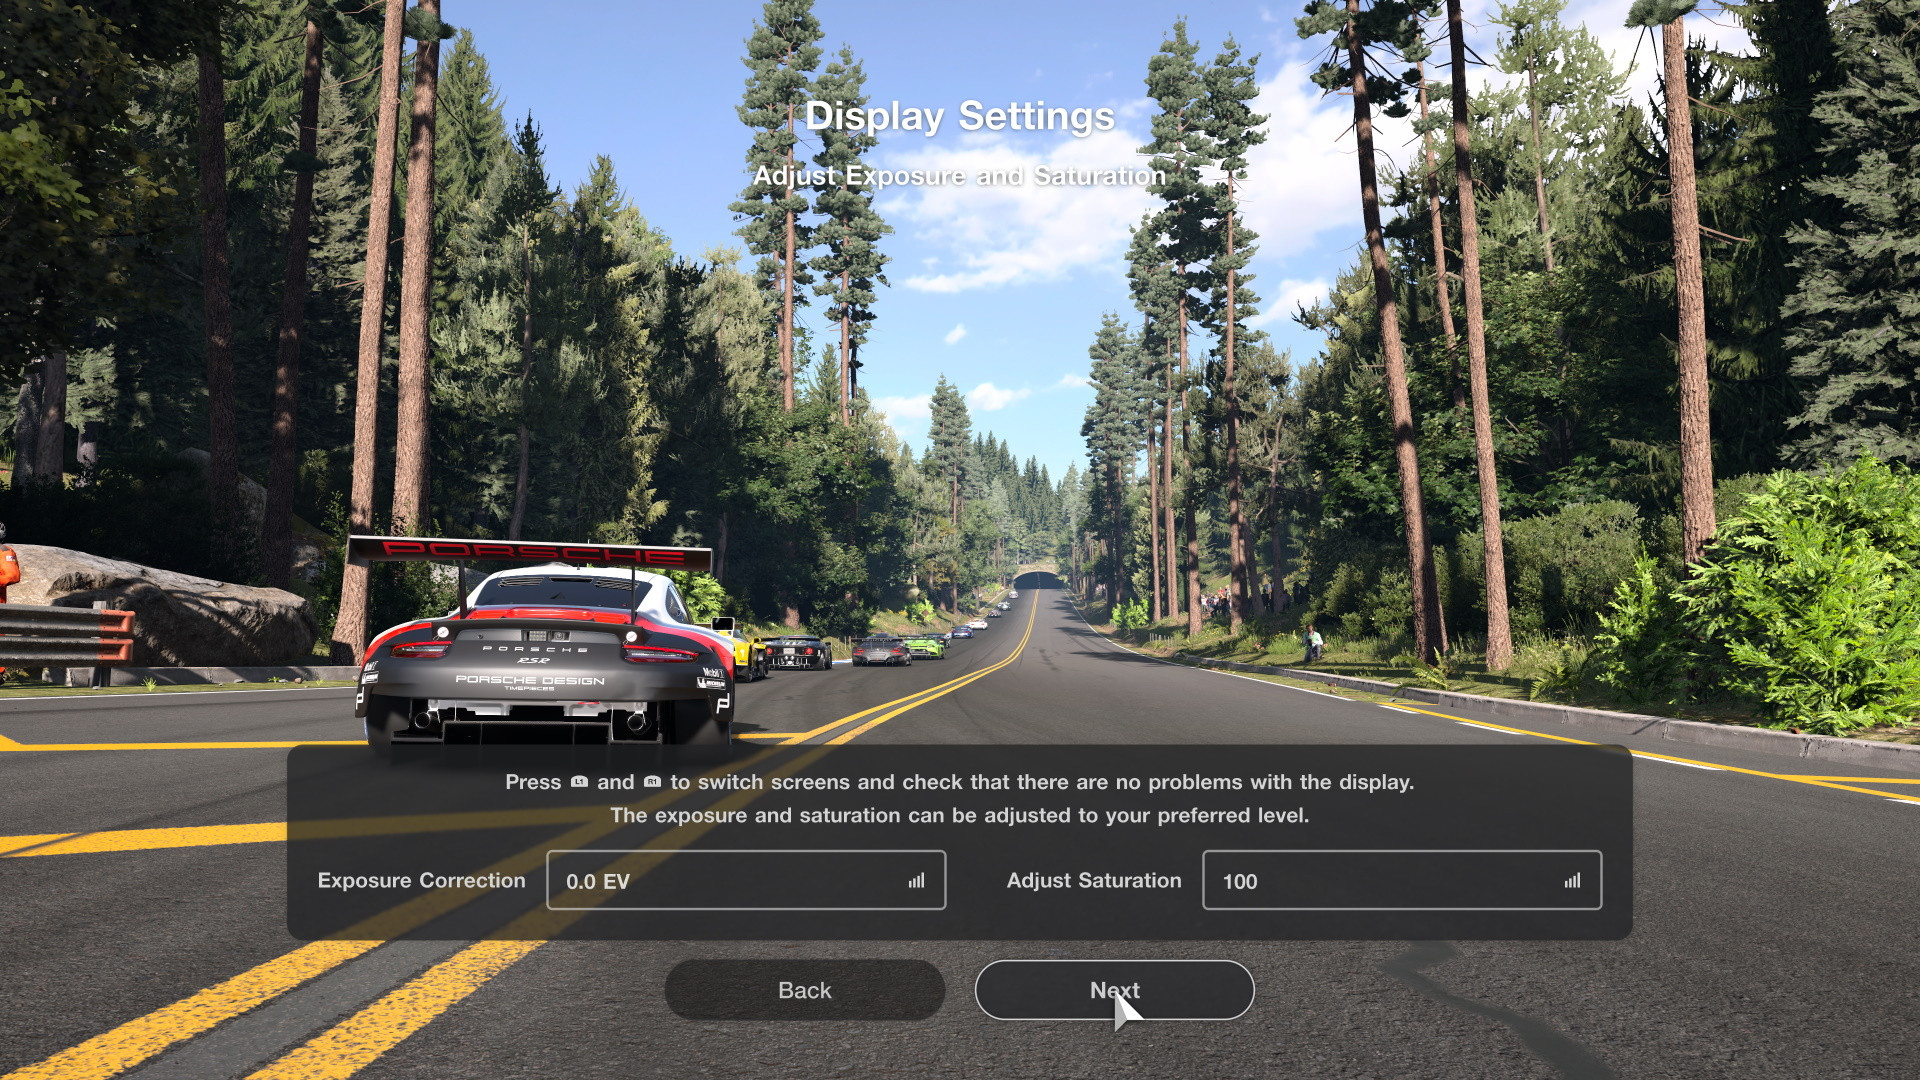
Use the L1 button and R1 button on the controller to switch the image displayed on screen, and check that all images are displayed correctly. The exposure and saturation can be adjusted according to your preference using the sliders. When you are satisfied with your adjustments, select "Next."
9. View Settings
Check that all the settings are correct, and select "Close" when you are ready.
